WordPress独立站中,如果想要在Google Analytics显示详细的电子商务数据,可以安装一个插件,很容易就解决了,不需要自己安装代码,安装GTM要复杂的多,配置这个插件要容易的多。

配置“WooCommerce Google Analytics Integration”
#步骤01:登录WordPress后台,安装插件“WooCommerce Google Analytics Integration”
直接在WordPress后台搜索就可以了,如果搜索不到,可以点击这个链接找到插件https://wordpress.org/plugins/woocommerce-google-analytics-integration/
插件的介绍:
This plugin provides the integration between Google Analytics and the WooCommerce plugin. You can link a referral to a purchase and add transaction information to your Google Analytics data. It also supports Global Site Tag, Universal Analytics, eCommerce, and enhanced eCommerce event tracking.
Starting from WooCommerce 2.1, this integration is no packaged with WooCommerce and is only available by using this plugin.
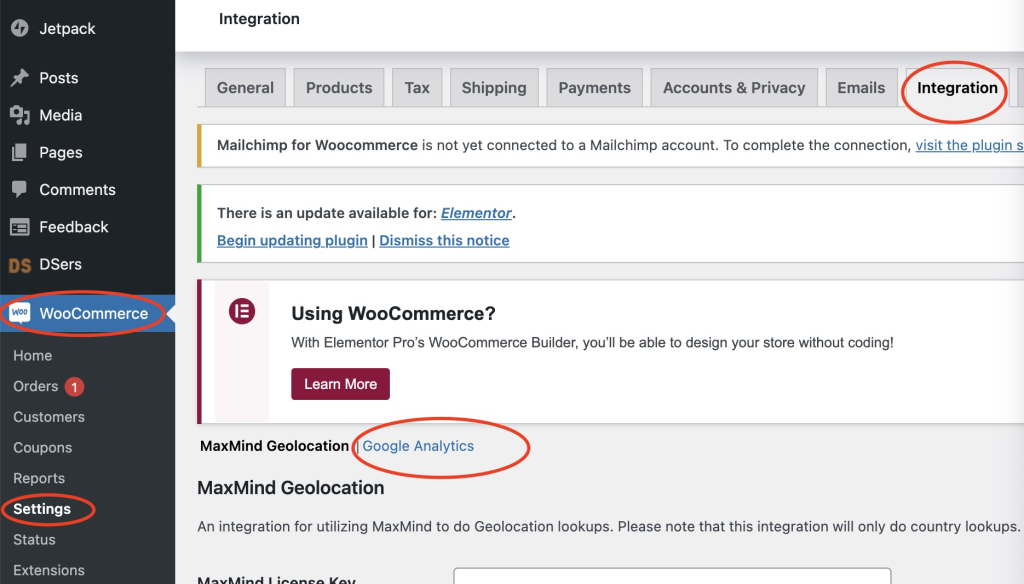
#步骤02:插件配置
WordPress后台,WooCommerce->Settings->Integration->Google Analytics
#步骤03: 登录Google Analytics: https://analytics.google.com/
点击管理——创建账号——创建媒体资源,注意这个地方需要创建一个Universal 账号。
点击创建资源

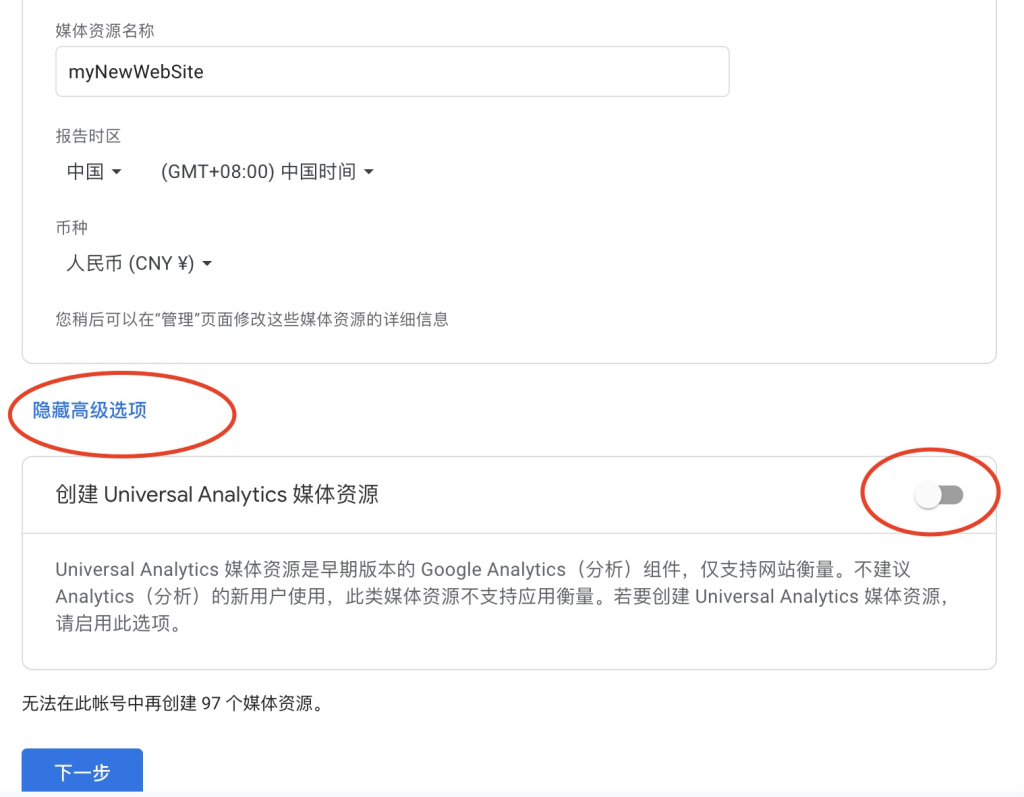
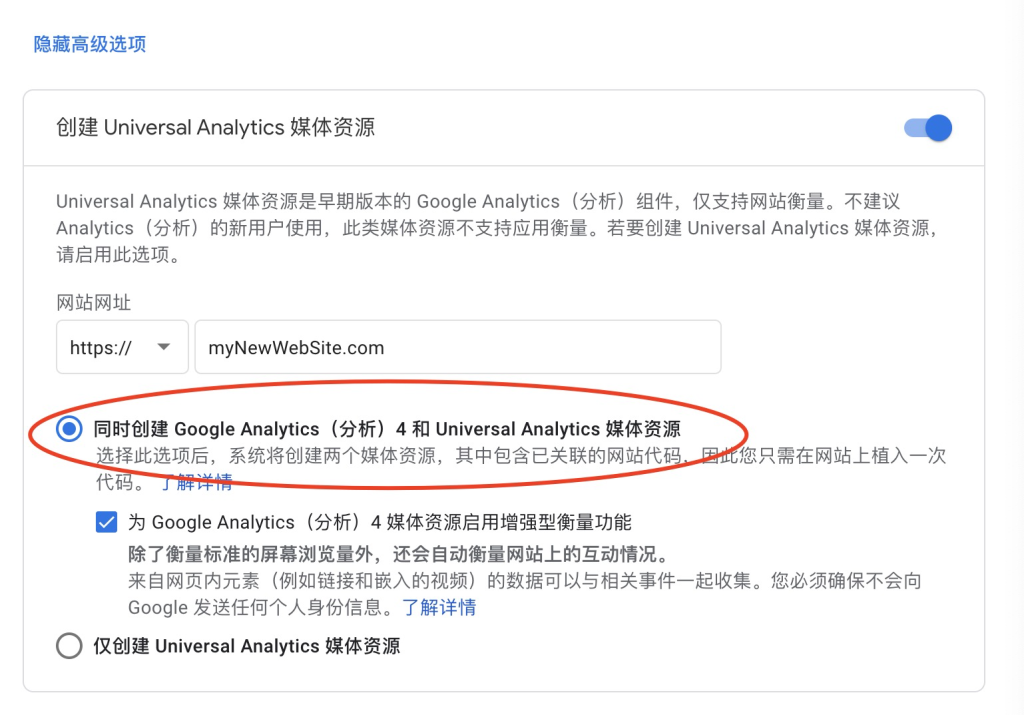
选择同时创建universal analytics
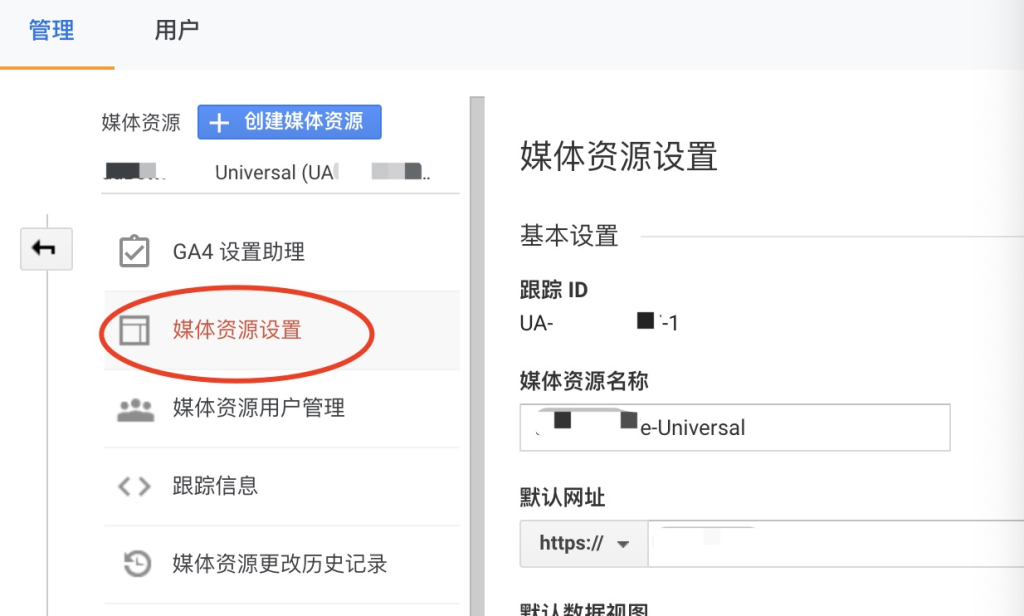
#步骤04:查看创建的资源
这个时候会看到创建了两个资源,一个是Universal的,一个是Universal GA4的,我们先使用Universal这个。

#步骤05:获取Universal的 ID
选择Universal的资源,然后点击”媒体资源设置”,右侧就可以看到跟踪ID,复制这个跟踪ID。
#步骤06:在Woocommerce中设置跟踪ID
将复制好的跟踪ID,粘贴到Woo中,如下图。
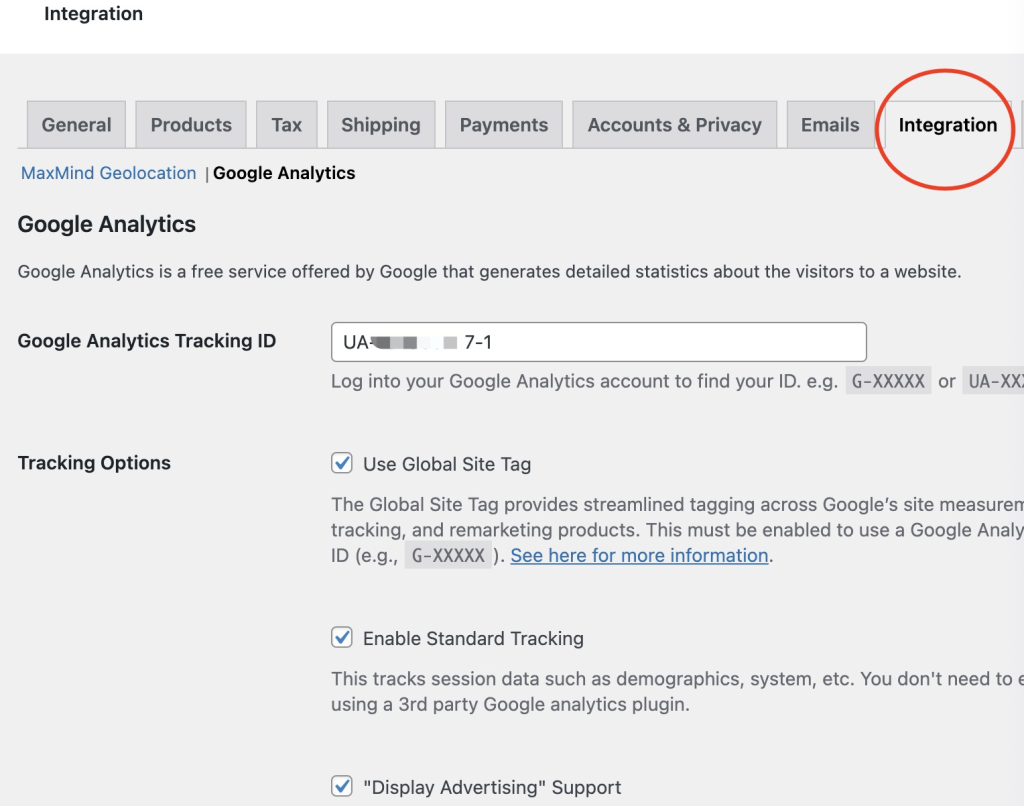
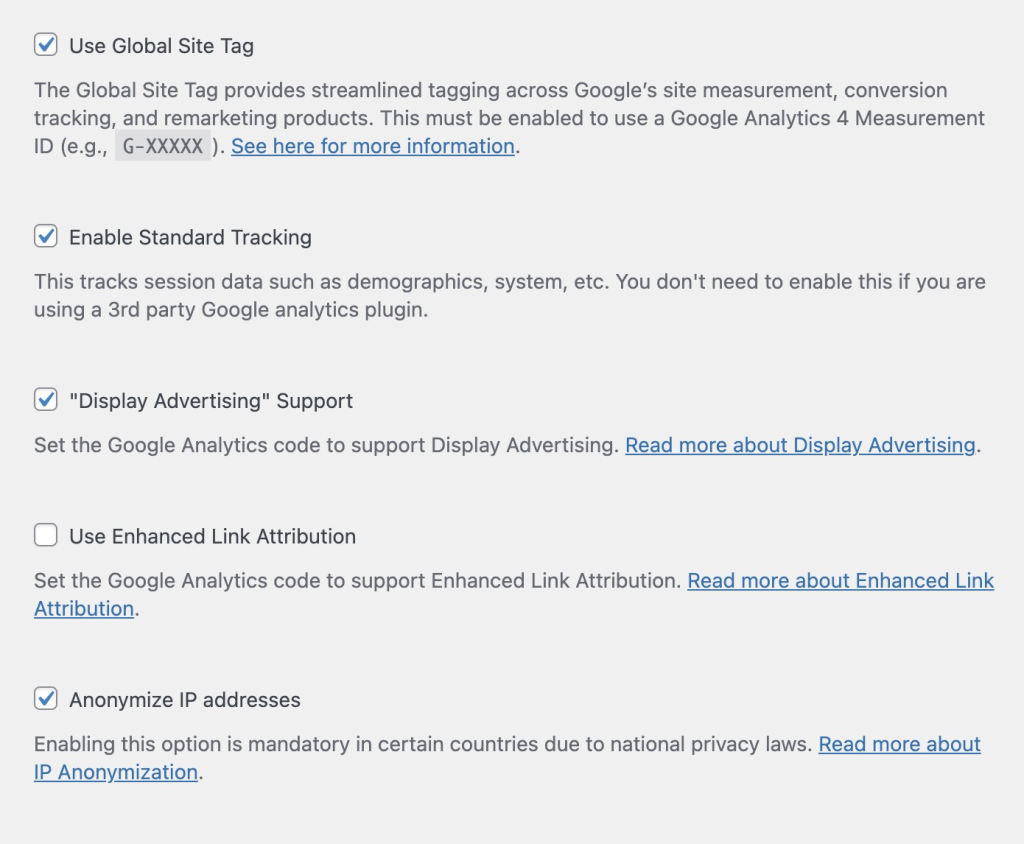
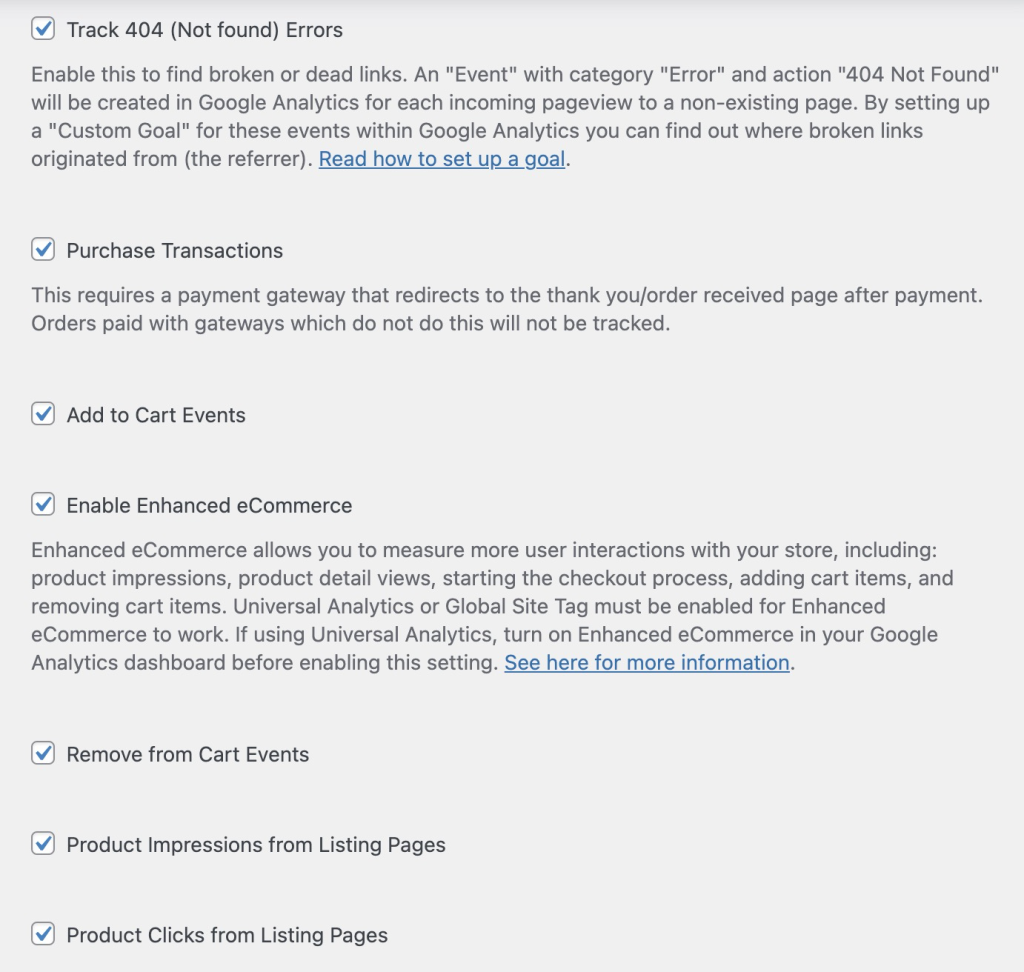
配置如下:

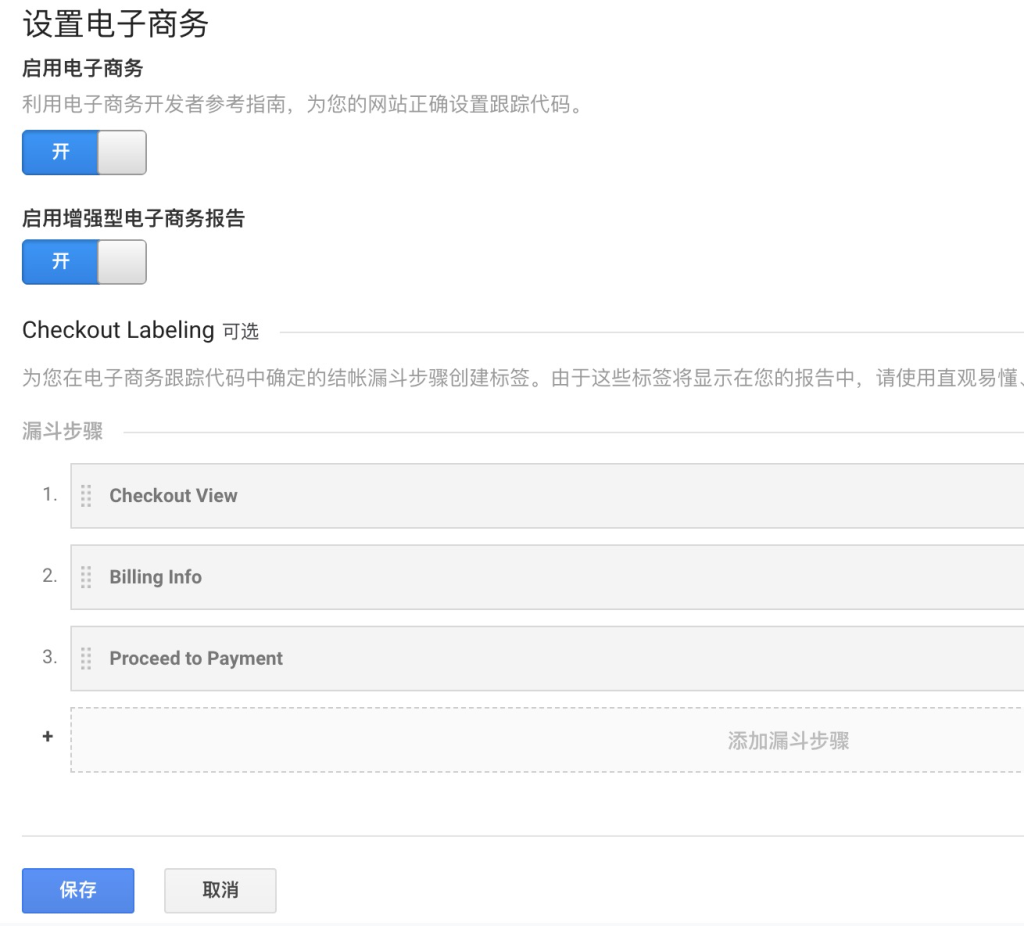
#步骤07:开启电子商务跟踪
回到Google Analytics中,点击左下角“管理”,进入View界面,选择电子商务设置。
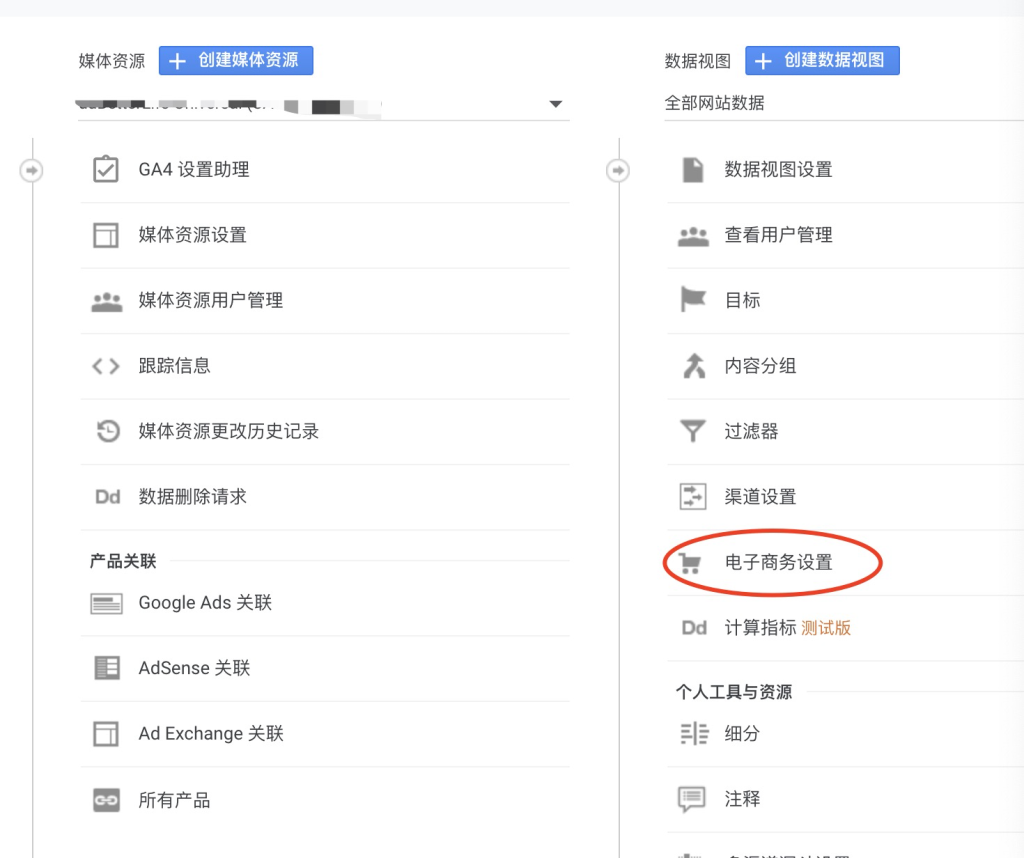
启用电子商务,启用增强型,添加三个CheckOut labeling
Checkout View
Billing Info
Proceed to Payment
这一步可能是没用的,没有去细究。
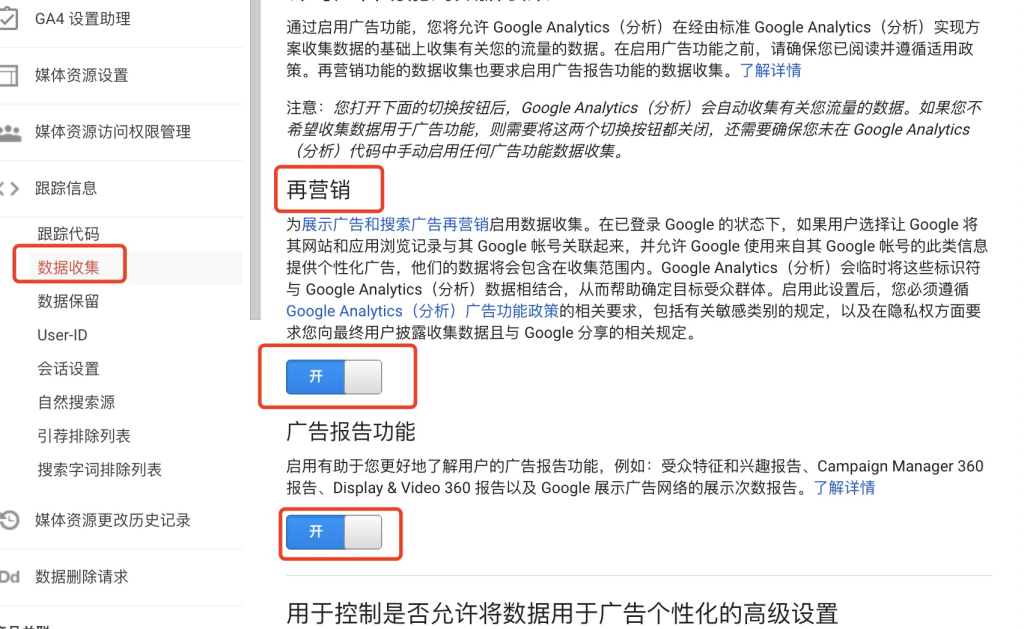
#步骤08:启用再营销
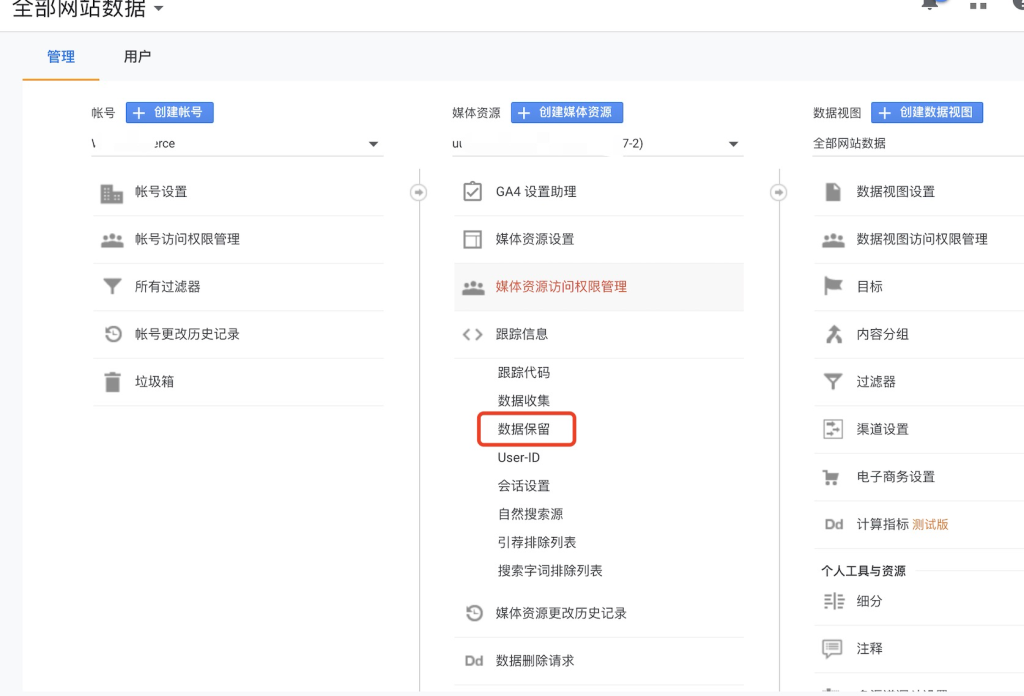
设置数据保留期限
#步骤01:普通Universal账户设置方法
管理——>跟踪信息——>数据保留
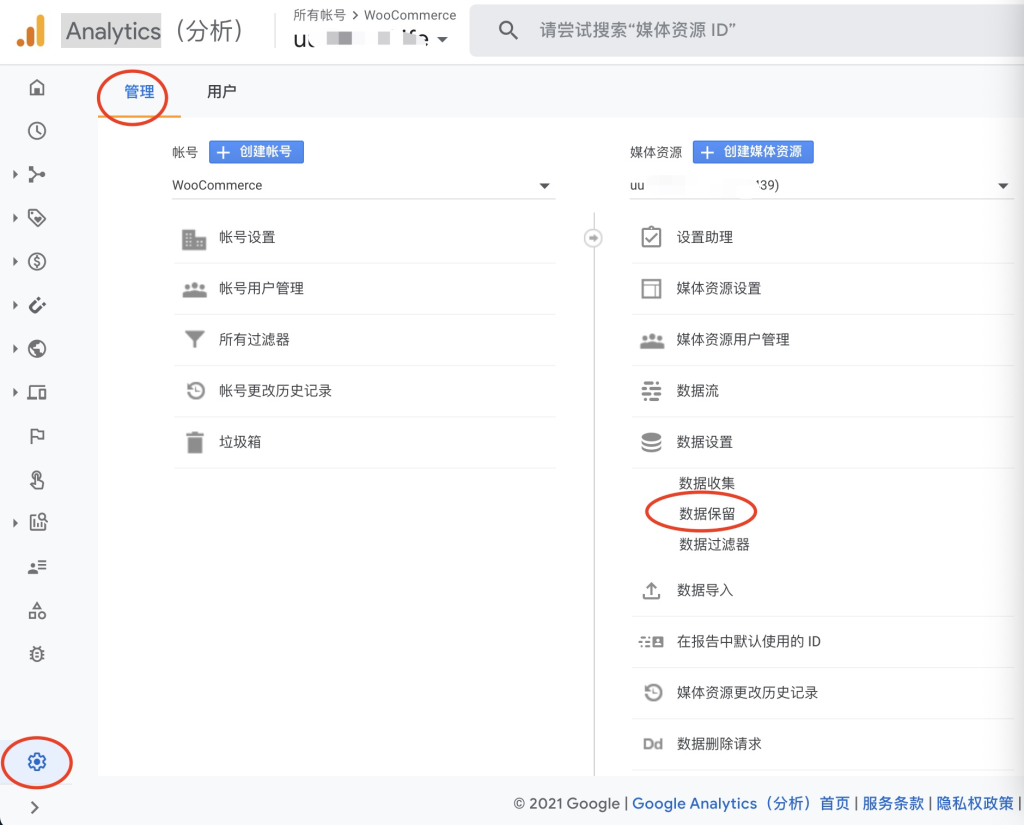
#步骤02:GA4设置方法:登录账户,点击最左下角的管理
管理——>媒体资源——>数据保留
2025年4月2日 at pm5:37
很好!谢谢你的分享!!